The installation of solar panels represents a significant step towards embracing renewable energy and reducing our reliance on fossil fuels. However, before diving into the physical installation process, careful preparation and planning are imperative. This involves not only understanding the technical aspects but also navigating through various regulations and guidelines. In this comprehensive guide, we’ll plug into each crucial stage of the installation process, from initial preparation to final commissioning. By following these steps diligently and working with experienced professionals, you can ensure a seamless and successful transition to solar energy, paving the way for a cleaner and more sustainable future. If you require help from a professional team, here is your go-to company based in the UK
This post contains affiliate links, including Amazon links. As an Amazon Associate, I earn from qualifying purchases. Thank you for supporting BeamBound and helping us continue creating great content—at no extra cost to you!
Sunstore Solar Power Solutions.
1. Preparation and Planning
Before embarking on the physical installation of solar panels, thorough preparation and planning are essential. This phase involves comprehensive research and documentation to ensure compliance with local regulations, building codes, and homeowners’ association guidelines. Obtaining necessary permits and approvals is a crucial step to avoid delays or complications during the installation process. Additionally, scheduling the installation during favourable weather conditions can help optimize efficiency and minimize potential disruptions.

2. Site Assessment
Conducting a detailed site assessment is fundamental to determining the optimal placement of solar panels for maximum sunlight exposure and energy generation. This assessment involves analyzing factors such as the orientation and angle of the roof, potential shading from nearby structures or trees, and any obstructions that may impede solar access. By carefully evaluating these variables, installers can identify the most suitable locations for panel placement to optimize energy production.
3. Mounting System Installation

The mounting system serves as the foundation for the solar panels, providing structural support and stability. Installing the mounting system involves securely attaching rails or brackets to the roof structure using appropriate fasteners and sealants. It is essential to ensure that the mounting system is properly anchored and weatherproofed to withstand environmental factors such as wind, rain, and temperature fluctuations.
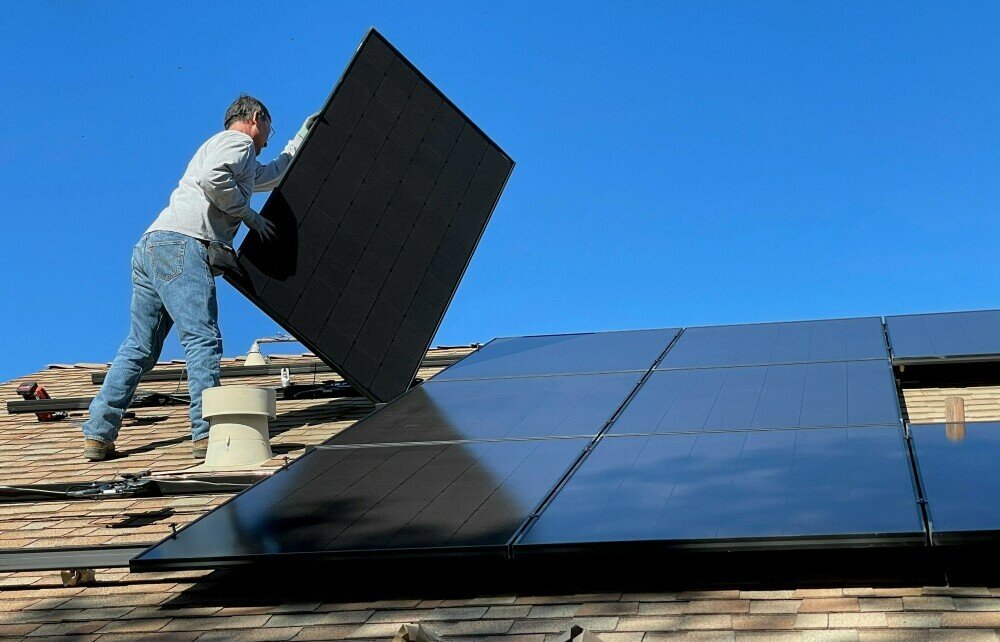
4. Panel Placement
Once the mounting system is in place, the solar panels can be positioned and secured onto the rails or brackets according to the layout determined during the site assessment. Careful attention must be paid to the spacing between panels to optimize airflow and prevent shading, which can affect energy production. Installers may use specialized tools and equipment to ensure precise alignment and secure attachment of the panels to the mounting system.
5. Electrical Wiring
Connecting the solar panels in series or parallel configurations requires meticulous attention to detail to ensure proper electrical connections and compliance with safety standards. Wiring is routed from each panel to a central junction box or combiner box, where the electrical circuits are combined before being connected to the inverter. Proper wire sizing, routing, and termination are critical to minimize energy losses and ensure system reliability.
6. Inverter Installation
The inverter is a critical component of the solar energy system, responsible for converting the direct current (DC) produced by the solar panels into alternating current (AC) suitable for use in your home’s electrical system. Inverters are typically installed near the main electrical panel and connected to the solar array via wiring. It is essential to select an inverter with the appropriate capacity and features to meet the specific requirements of your solar installation.
7. Monitoring System Setup
Many modern solar installations include monitoring systems that allow homeowners to track energy production and system performance in real time. Setting up and configuring the monitoring system enables you to monitor energy output, detect any issues or anomalies, and optimize system performance. This step may involve connecting sensors, transmitters, or data loggers to the inverter or central monitoring unit and configuring software or online portals for remote access.
8. Final Inspection and Commissioning
Once the physical installation is complete, a final inspection is typically conducted to ensure that the solar energy system meets all applicable regulations, standards, and safety requirements. This inspection may be carried out by a representative from the local building department, utility company, or a certified solar installer. After passing inspection, the system is commissioned, which involves activating the system and verifying its functionality. At this stage, homeowners can start enjoying the benefits of solar energy and begin generating clean, renewable power for their homes.
Conclusion
From meticulous planning and site assessment to precise installation and commissioning, each step of the solar panel installation process is critical to the success and performance of your solar energy system. By understanding the intricacies of the installation process and working with experienced professionals, you can ensure that your solar panels are installed safely, efficiently, and in compliance with all relevant regulations. With proper planning and execution, you can harness the power of solar energy to reduce your carbon footprint, lower energy costs, and contribute to a more sustainable future for generations to come.
If you have any questions or comments about the content provided or anything related to solar panel installation, renewable energy, or sustainability in general, feel free to ask. I’m here to help and provide additional information or clarification as needed.